Skip Navigation
PPPOE Setup for Macintosh
- OS 10.8 Mountain Lion and Higher
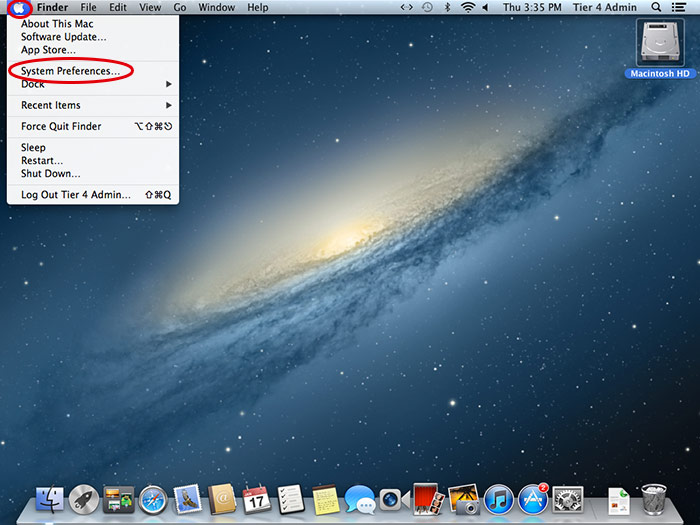
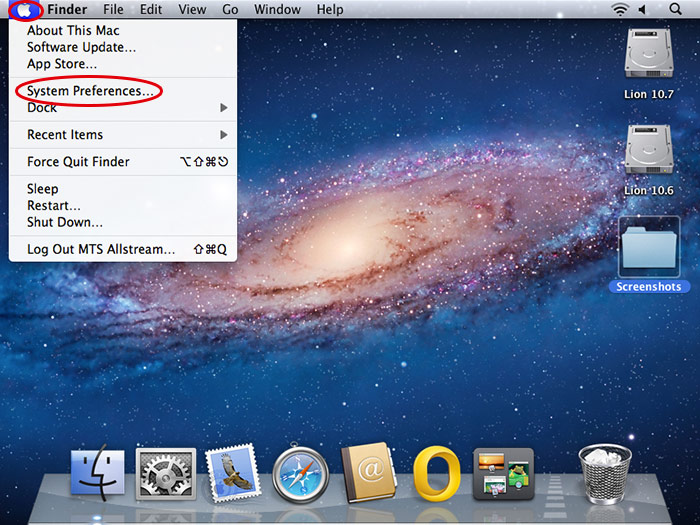
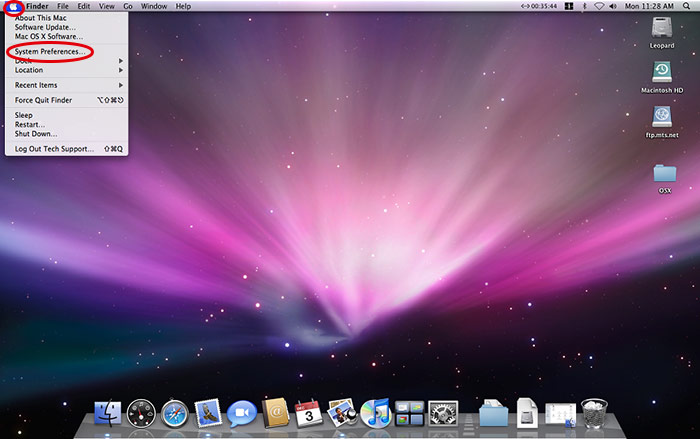
- From the Apple Menu, click System Preferences.
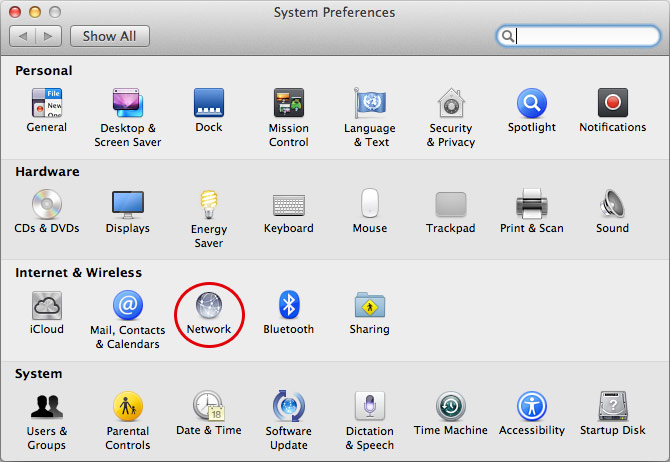
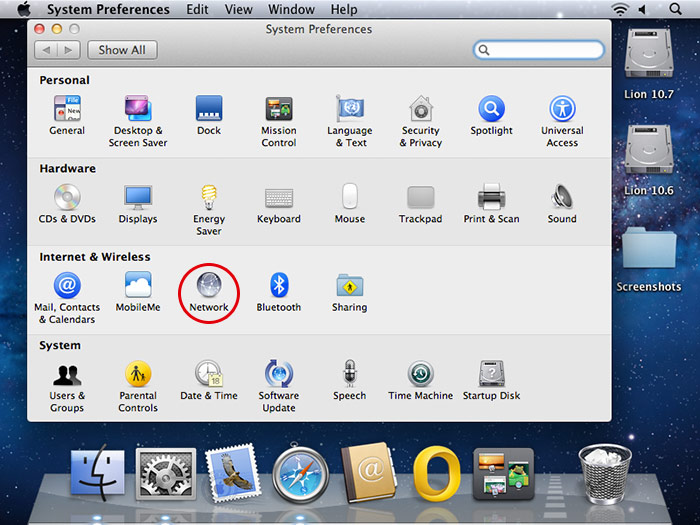
- Under Internet & Wireless, click the Network icon.
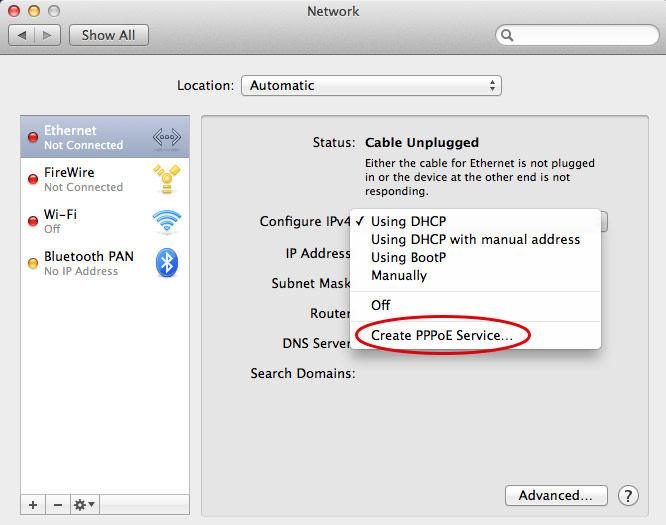
- On the Ethernet tab next to Configure IPv4, select Create PPPoE Service.
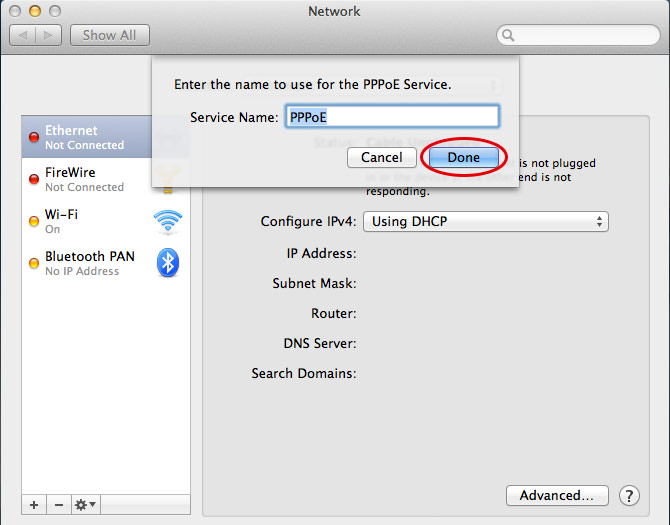
- Leave the Service Name field as PPPoE and click Done.
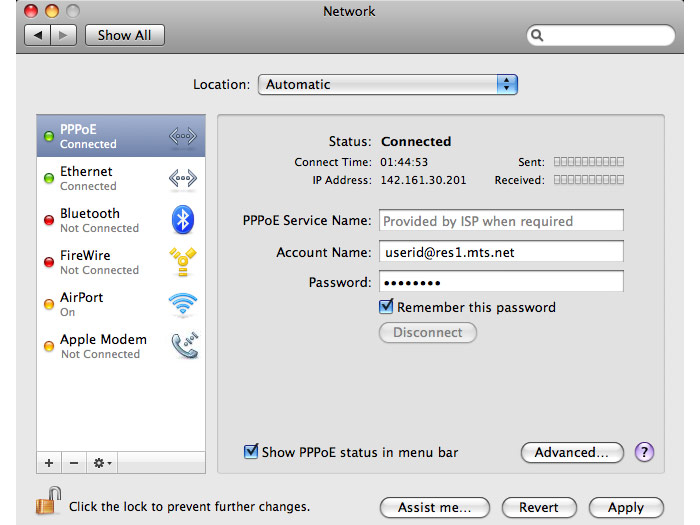
- Complete the Network Screen:
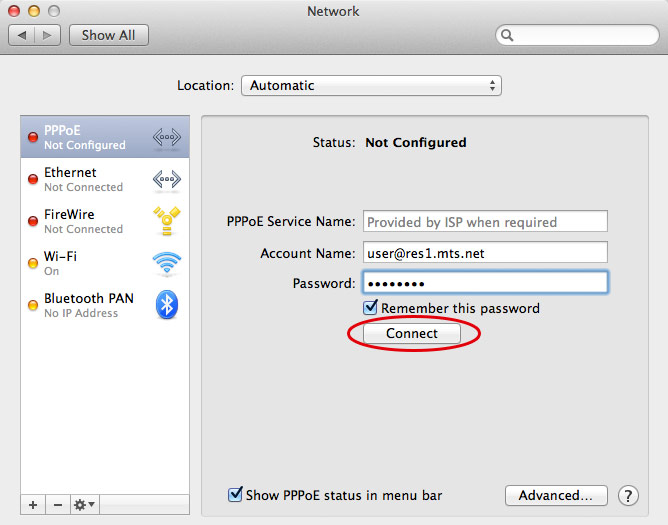
- PPPoE Service Name: not required.
- Account Name: user id provided by Bell MTS.
- Password: password provided by Bell MTS.
- Click on remember this password to select it.
- Click Show PPPoE status in menu bar to select it.
- Click Connect.
- OS 10.7 Lion
- From the Apple Menu, click System Preferences.
- Under Internet & Wireless, click the Network icon.
- Choose PPPoE in the panel on the left.
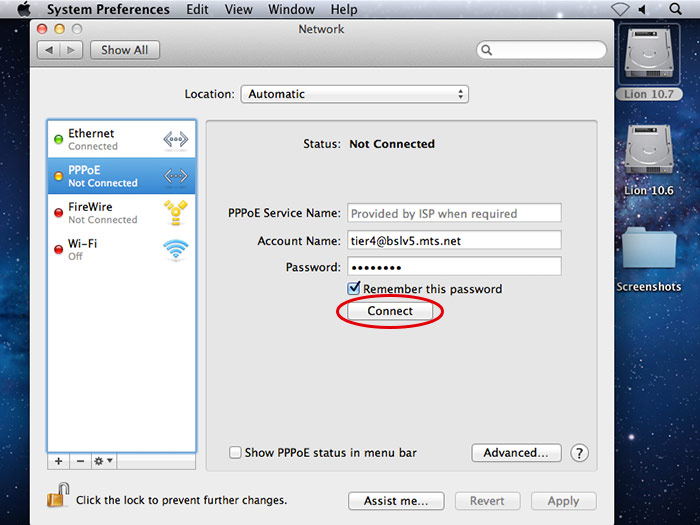
- Complete the Network Screen:
- PPPoE Service Name: not required.
- Account Name: user id provided by Bell MTS.
- Password: password provided by Bell MTS.
- Click on remember this password to select it.
- Click Show PPPoE status in menu bar to select it.
- Click Connect.
- OS 10.6 Snow Leopard
- From the Apple Menu, click System Preferences.
- Under Internet & Wireless, click the Network icon.
- Choose PPPoE in the panel on the left.
- Complete the Network Screen:
- PPPoE Service Name: not required.
- Account Name: user id provided by Bell MTS.
- Password: password provided by Bell MTS.
- Click on remember this password to select it.
- Click Show PPPoE status in menu bar to select it.
- Click Connect.
- OS 10.4 Tiger
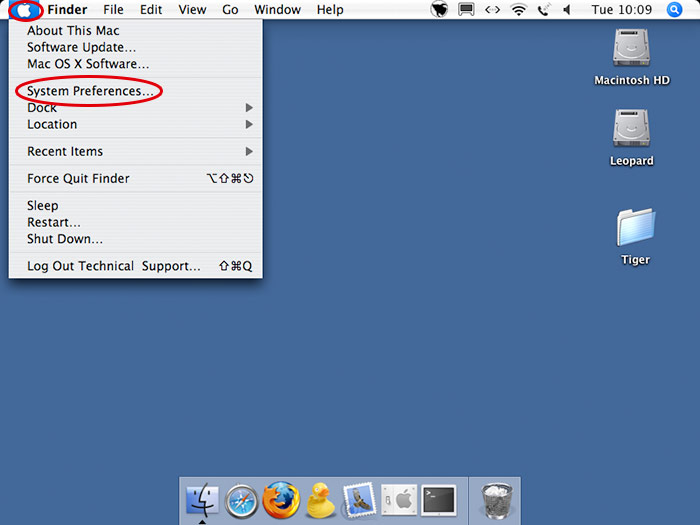
- From the Apple Menu, click System Preferences.
- Under Internet & Wireless, click the Network icon.
- Choose Built in Ethernet on the left.
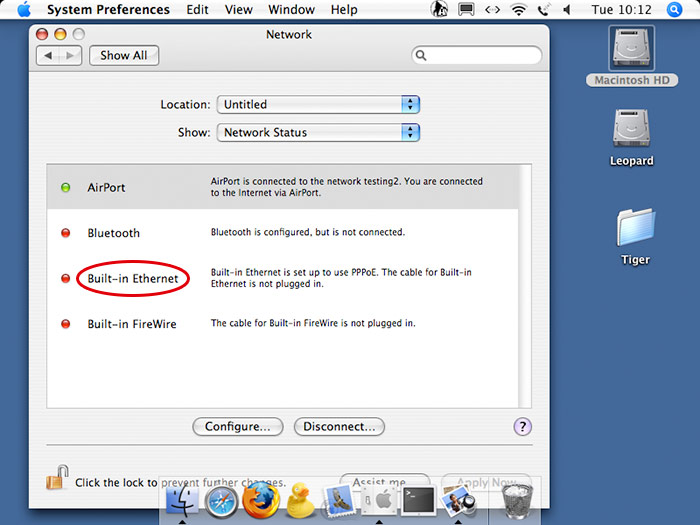
- Click the PPPoE tab.
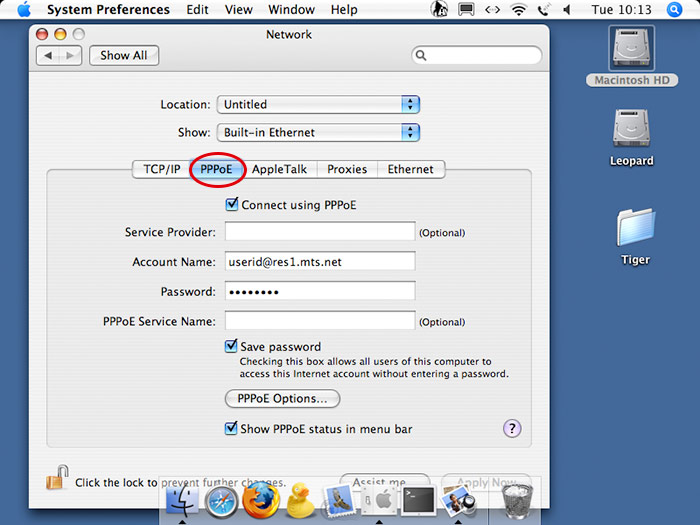
- Complete the Network Screen:
- Service Provider: not required.
- Account Name: user id provided by Bell MTS.
- Password: password provided by Bell MTS.
- PPPoE Service Name:not required.
- Click on Save Password to select it.
- Click Show PPPoE status in menu bar to select it.
- Click Apply Now.
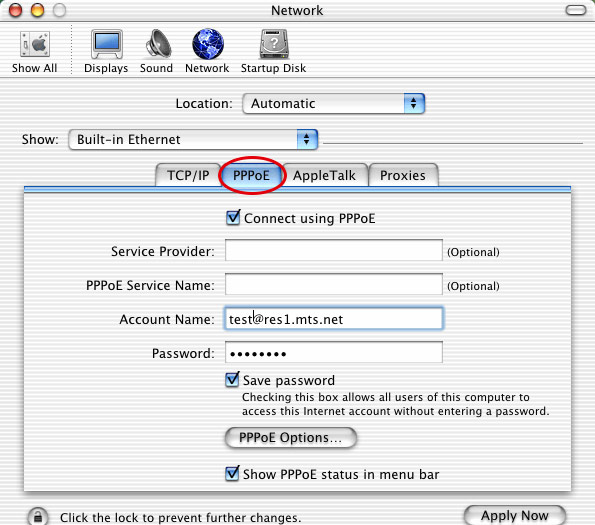
- OS 10.3 Panther
- From the Apple Menu, click System Preferences.
- Under Internet & Wireless, click the Network icon.
- Choose Built in Ethernet on the left.
- Click the PPPoE tab.
- Complete the Network Screen:
- Service Provider: not required.
- Account Name: user id provided by Bell MTS.
- Password: password provided by Bell MTS.
- PPPoE Service Name:not required.
- Click on Save Password to select it.
- Click Show PPPoE status in menu bar to select it.
- Click Apply Now.
- OS 10.2 Jaguar
- From the Apple Menu, click System Preferences.
- Under Internet & Wireless, click the Network icon.
- Click the PPPoE tab.
- Complete the Network Screen:
- Service Provider: not required.
- PPPoE Service Name:not required.
- Account Name: user id provided by Bell MTS.
- Password: password provided by Bell MTS.
- Click on Save Password to select it.
- Click Show PPPoE status in menu bar to select it.
- Click Apply Now.